Pages

Thursday, October 27, 2011

Making Glitter Shoes Tutorial

Hey Hey Hey!!!!!!!!!!!!!!!!!!
Halloween is just around the corner and I finished the final touches of my daughters costume last night! I'm super excited. 

I love all holidays, even the made up ones like Valentines day! I don't care, I just love to celebrate! And don't go telling me that holidays are evil.... yadda yadda yadda... I don't care! I think it's about your heart and my heart is to have fun on this night! 

 So my little girl is going to be Tinkerbell! And my dad's girlfriend bought her the Tink outfit (THANKS!!!) but I needed to get all the little extras to make her look the part! So I found a petticoat at a resale shop and these silver shoes at Old Navy (on sale for $6!!!)


Then I grabbed my 40% coupon for Michael's and bought some lime green glitter! (I already had all the other supplies.) i.e. Mod Podge, two white pom pom's, and a foamy brush.


Then I poured out some Mod Podge on a paper plate, mixed in some of the glitter for good measure and started to paint the glue/glitter mixture on half of the shoe. (This way I could still hold part of the shoe for the next step.)


Once I had the entire portion covered I started to pour on the glitter (on a new paper plate so that I could re-use all the glitter the fell off of the shoe). Just before knocking off any excess glitter I pressed down onto the shoe with the glitter to ensure that all the glitter would stick to the Mod Podge glue/glitter mixture. Then I gently tapped off the excess glitter and gave the finished section a little spray with some aerosol hairspray.


Then repeat that over on the other parts of your shoes until they are perfectly glittered!. Let these sit overnight before trying them on! I even waited to hot glue the little pom pom's on until the next morning.
These are my Tinkerbell masterpieces!


And here's Tinkerbell herself! Wahooooo lets go get some candy!!!!!!!!!!!!!!!!!!!!!!!!!!!!!!!!!!!!!!!


Thanks for checking in!!! 
-Bri

Saturday, October 15, 2011

Baby Toot's

I've been looking through old video's and pics of my baby girl. This one def cracks me up!!!!!


I can't believe that this little girl is almost 3!

And I'm sure some of you are thinking... "Oh that poor baby, she'll be so embarrassed when she's older...." Well if she's anything like her mother, and she's the spittin' image of me, then she'll be fine!! ;)

Tuesday, August 30, 2011

Furniture Redo

So I got this nightstand at the Goodwill for $4.99!!!! It looks like someone tried to paint it and didn't do well. So I fixed it!!!! One mans trash is another woman's treasure!


The paint was scratching off supper easily which tells me that it was never primed..... And all the yellow paint came off soooooooo quick!

I just used my little mouse sander and a medium sand paper. I didn't want to dig too far into the fake wood. ;)
{via}
I painted one coat of KILZ primer. I don't always prime, but since this was a fake wood piece and the wood grain was a sticker..... I wanted to make sure my coats of paint didn't scratch off!

Then I added some of this awesome stuff to my latex paint. (I used some left over BEHR paint, swiss coffee color)

{via}
This makes your brush strokes lay flat. I love this stuff. I use it for painting doors, nightstands and all sorts of little projects. (just follow the instructions on the bottle for adding this to your paint)

I painted two coats of paint and added some cute hardware that I got from Home Depot for $7.00. I think it's hilarious that my hardware costed more than the nightstand itself. 

And here are my results!

I couldn't be happier. It was a simple project and it looks so bright and clean now. Thank you Goodwill fairies!!!!!

Here it is again:

That's my fun re-do! I'd love to see yours!
Love ya! 
Bri

Monday, August 22, 2011

Uses for Clothespins

Ok so the dentist wasn't all that bad, I survived!! And I've decided to share some of the projects I've done around the house over the past few months.

Problem: I had TONS of extra clothespins lying around from a Christmas project forgotten. I was going to use them on all my Christmas gift tags last year, sounded awesome, but I never got around to it. So there they were taking up space in my laundry room closet. So I decided to use as many as I could! Here are some of the things I did!

So here is my jar of clothespins... this is the same jar that my husband picks up once a month and says, "Why the heck are you keeping all these?". Well honey... I've made a substantial dent in my collection. Your welcome!
That's some laundry line  rope up on top there

#1: 
I wrapped all of my ribbon scraps around the clothes pins.  I used the end that usually holds the clothes on the line, to pinch the end of the ribbon so that it wouldn't unwind. And now the cute little jar is holding all my ribbon supplies nice and neat!


#2:
I hung the laundry line rope from the hardware that holds up the hammock and started to pin up all of Emily's stuffed animals. And there are tons! She still has more on her bed. Girls are crazy! 

Oh and when Emily saw this, she cried out "Oh, my TOYS???!!!! But I can't get them!" 


 I just wrapped a part of the stuffed animals ear, arm or leg around the rope and pinned it on. Emily is still little enough that she cant reach this to tear it down.... once she grows I'll have to re-evaluate this. But if she grows like me, then I have at least 20 more years!


#3:
When Dave and I were first married I found these great ABC flashcards at Michaels for $2.50!!! And I have finally hung them up in our kids room! This was a craft 8 years in the making! (I did this in January or February when we first moved into our apartment.


I used some felt flowers (not pictured), leftover buttons and hemp twine that I had left over from other crafts.


I hot glued a felt flower onto the clothespin ant the top (where you would pinch it to make it open) and then in the center of the flower I glued a button. Easy Peasy! 

And then some of the clothespins I just painted. Once it was all dry I hung up the twine and pinned on my cards! I used a staple gun to hold the twine on the wall. This way there are only a few small spots to patch when we move!


#4:
I used the rest as magnets! I already had the magnets from another left over craft. I got out my low-heat glue gun (thank you geniuses that created this!!! No more blisters for this girl!) and started to glue magnets onto the center of the clothespin.


Then I stuck it on the fridge with a picture! Super easy!


So I kept myself busy for an evening and organized my life a bit!

Now what to do with the left overs???!!!
I still have about 50 or so! Here's some inspiration from Pinterest
I think I'll need a little more time before I get to this level of craftsmanship.

This light fixture is pretty sweet!
{source}

This is a sweet little mirror/wreath.
{Source}
Alright that's enough from me! Happy Crafting!

Love ya!!!
Bridgette

Friday, August 19, 2011

Lip Syncing Kid

Happy Friday!!!!!!!!

So today I have to go to the dentist.... AAAHHHHH!

But I thought I'd leave you with this happy little video of Emily singing her heart out to the awesome new Rascal Flatts song "Easy" feat. Natasha Bedingfield. 


Love you friends!
-Bridgette

Thursday, August 18, 2011

Emily's Best Friend

We are currently living in Phoenix, Arizona. We have lived here before (around 5 years ago) and we made friends with a few other couples. None of us had children then and now we all have children that are about 6-8 months apart. It's funny how the timing all worked out. 

Emily has grown very close to one little girl. She will jump for a minute straight if I say we are going to visit her. It's really very sweet. 

Just last week this sweet family welcomed another baby girl into their family, so we went to visit and give them a little break by taking the big girls to the pool! Here's a couple pics of best-friend-ness. The cuteness is too much to handle. 


Best Friends
 Oh and on a separate note.... I've framed the little art project that Emily and I worked on this month. You can check it out here if you didn't already see it.


 I bought 2 frames from IKEA and hung them in my hallway... I'm happy with them! And The whole project only cost me $3.00! (that's the cost of the frames. I already had all of the other supplies!!!) Awesome!


Wednesday, August 17, 2011

I'm a Horse with Blinders

What I mean by that is this:

When things get frustrating, tough, or I feel stuck,
this is what I do...

{source}


Instead of doing this...

{source}
Neither one is better than the other, both options avoid or ignore the issues bothering them.
I've realized that I'm the horse with blinders... I just keep plowing ahead, pretending that the stuff I can't see isn't there. Much like burring my head in the sand... except then I wouldn't be able to move.... and I'd much rather have my baggage on wheels, at least then I have the illusion of freedom.

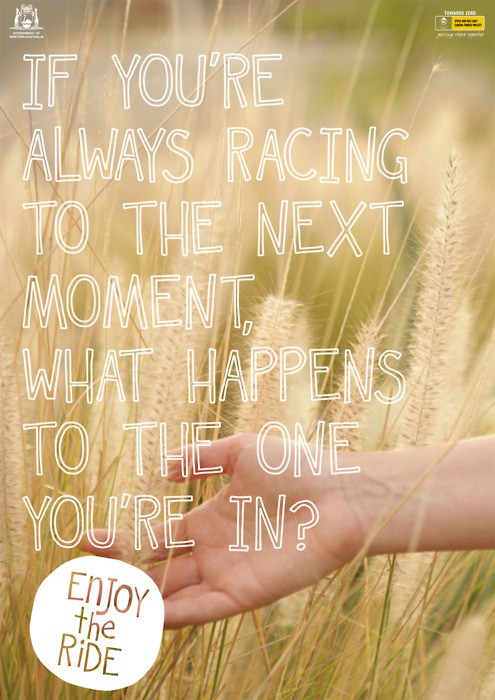
I'm having one of those seasons. One where I am sucking it up and carrying on. I do realize that life isn't always what you want or expect. And how you deal with that is the true test of your character.

{source} also on my board at {Pinterest}

So here's my situation now:
I wish, wish, wish, I could work from home, then I could be with my daughter again. Since we moved to Arizona I haven't been able to work from home. And I really miss it. At the same time I really am so thankful for my job and the opportunity that God has brought me! But it doesn't change the fact that my heart longs to be at home, with my daughter, on my own time, and free to be creative and also provide for my family.

So this is where I become an adult. I do the things that I need to in order to raise a family, because it's better for the good of others. That's called being responsible. At least to me anyway.

I do think it's possible to make the choice to be responsible and NOT wear the blinders. I know I haven't found this balance yet and all to often I find my self without peripheral vision, bull-dozing down the street with fancy wheeled baggage. I guess I just plow along until the scenery changes. But that can't be good either.

{source} also on my board at {Pinterest}
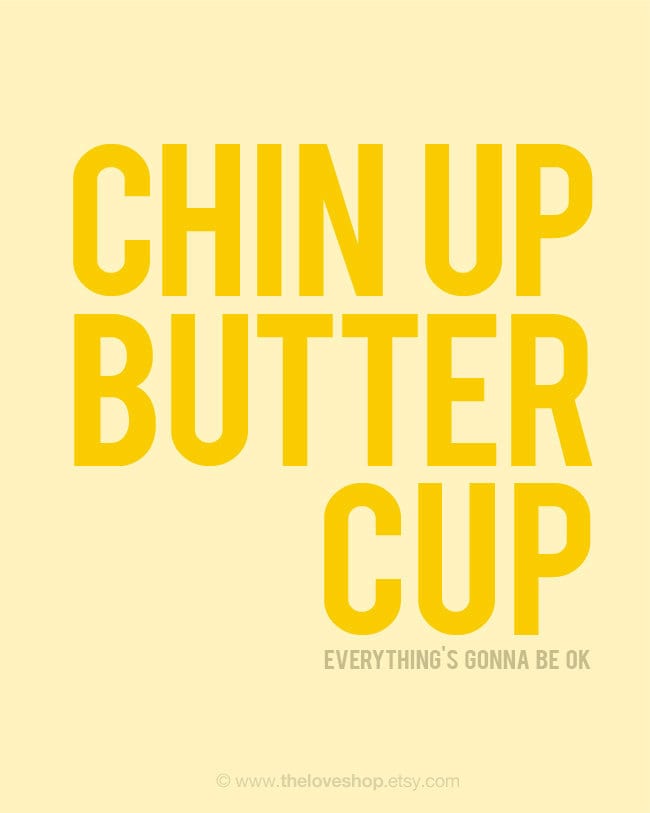
So in light of the question above. I decided to have fun with my daughter and my husband, and to find the good in this season of tough. I'm keeping my chin up, and choosing to keep my peripheral vision intact. I'm thankful for the provision the Lord has brought my way and I'm going to learn to be content. I still have a drive and passion for all things creative, but I will do the responsible parts with a happy heart. That's the difference!!!!

And I seriously love this picture. Chin up and Dance!

{source} also on my board at {Pinterest}


Related Posts Plugin for WordPress, Blogger...